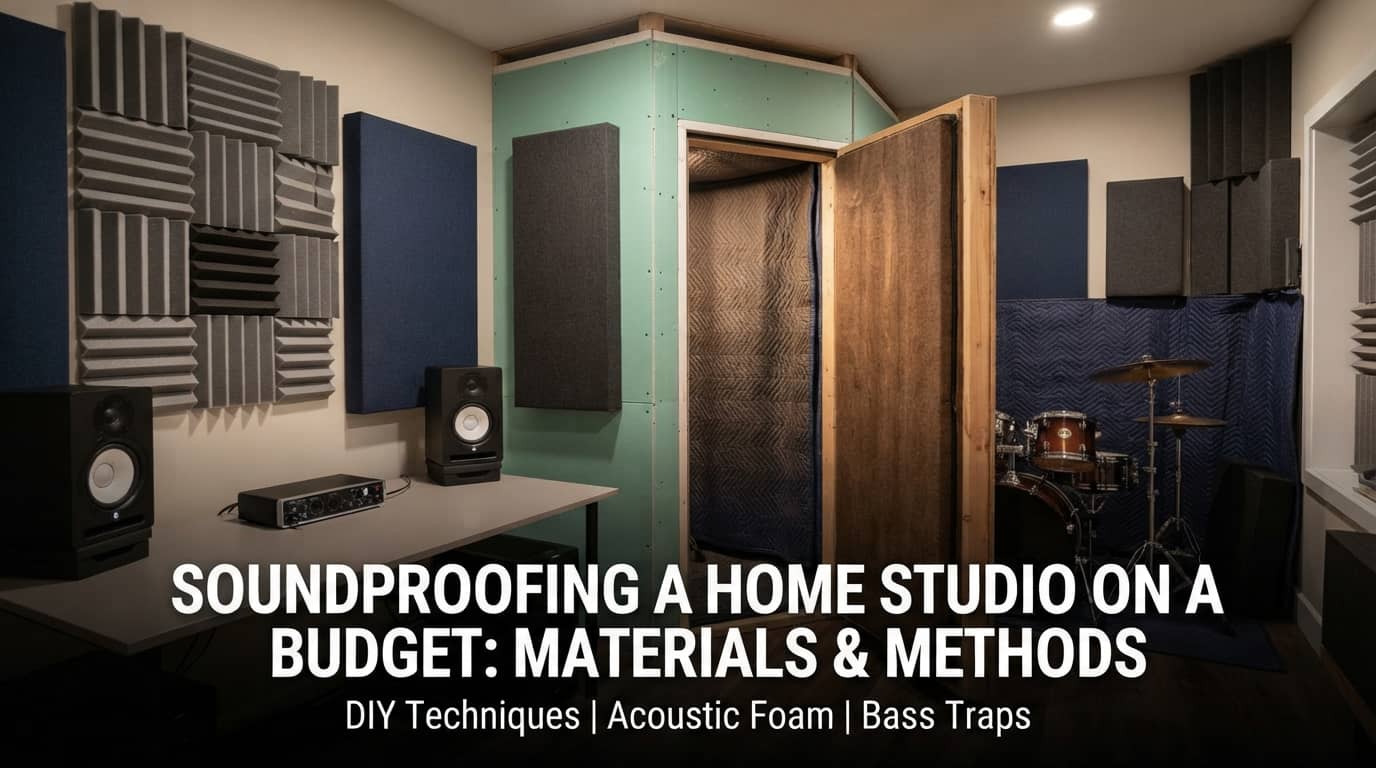
Professional recording studio soundproofing costs a genuine fortune, double-wall construction, floating floors, specialized doors. Most Pakistani home studio builders, whether podcasters, YouTubers, or musicians, need a realistic middle path: meaningful improvement without a commercial studio budget. Here's a prioritized, honest approach.
Understanding soundproofing vs acoustic treatment first? See our full explanation before starting, knowing which problem you're solving determines where your budget should actually go.
Step 1: Choose the Right Room Before Spending Anything
Before buying a single product, room selection does more free soundproofing work than any purchase will. A smaller, interior room (away from exterior walls, away from the street-facing side of the house) starts with a genuine acoustic advantage over a large room with exterior walls and windows. If you have any choice in which room becomes your studio, this decision matters more than your entire treatment budget combined.
Step 2: Seal the Free Weak Points First
Before spending on any acoustic product, address the gaps that let sound through for free or near-free cost:
Door gaps. Weatherstripping around the door frame and a door sweep at the bottom close the airborne sound leakage paths that are often the biggest weak point in an otherwise treated room, genuinely inexpensive, and addresses a problem foam or panels can't fix regardless of how much you spend on them.
Window gaps. If your room has windows, check and seal any gaps around the frame. Heavy curtains add some benefit too, though they're a modest improvement rather than a real fix for serious noise problems.
Electrical outlets and any wall penetrations. Small gaps here genuinely let more sound through than their size suggests, acoustic sealant at these points is cheap and effective.
Why this step comes first: these fixes cost a fraction of any acoustic panel purchase, and skipping them undermines everything else you spend money on afterward, a room with excellent acoustic treatment but an ungapped door still leaks sound freely through that gap.
Step 3: Budget-Friendly Acoustic Treatment (For Internal Sound Quality)
Once the free/cheap fixes are done, acoustic foam becomes worth the investment, remembering that this step improves how your room sounds for recording, not whether sound leaks out.
Target the first-reflection points specifically, rather than covering every wall evenly:
- Behind your microphone or speakers
- On the wall directly opposite your recording position
- Near room corners, where bass frequencies tend to accumulate even in smaller rooms
Budget-friendly options:
- Basic foam tile packs, the most affordable acoustic treatment available, genuinely effective at targeted reflection points even without covering the whole room
- DIY options like heavy blankets, moving furniture, or bookshelves with irregular surfaces can provide modest, genuinely free supplementary absorption while you save for proper foam panels
A practical budget rule: concentrated foam at the actual reflection points delivers better results per rupee spent than the same total foam quantity spread thin and even across every wall.
Step 4: If Budget Allows, Address the Door Itself
A hollow-core door (common in many Pakistani homes) leaks significantly more sound than a solid-core door. If your budget stretches this far after the free fixes and basic acoustic treatment, replacing a hollow door with a solid-core door, even a budget solid door, meaningfully improves sound isolation beyond what sealing alone achieves.
What to Skip on a Genuine Budget
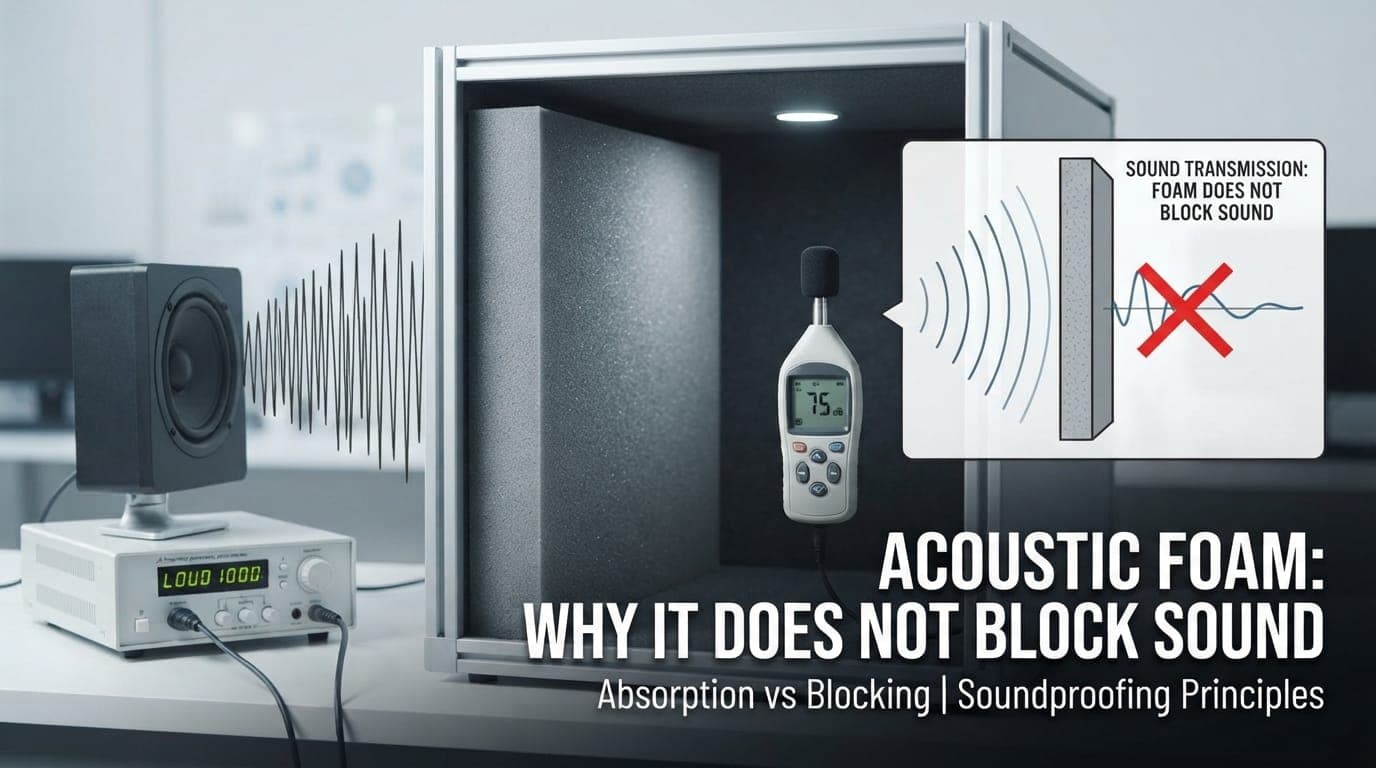
Don't buy expensive "soundproof" panels expecting them to block sound between rooms, as covered in our foam vs soundproofing explanation, most affordable acoustic panels absorb reflections, not transmission. Spending your limited budget on premium foam expecting soundproofing-level isolation results in disappointment and wasted money.
Have questions about this?
Chat with us on WhatsApp. We usually reply within minutes.
Don't skip the free fixes to jump straight to foam. This is the most common budget-allocation mistake, buying acoustic panels first because they feel like "real" studio equipment, while skipping the genuinely more impactful (and free) door/window sealing work.
Don't attempt full double-wall construction on a genuine hobby budget, this is where diminishing returns hit hard for a home studio that isn't a full-time commercial operation. The gap-sealing plus targeted acoustic treatment approach delivers most of the practical benefit most home studios actually need.
A Realistic Budget-Priority Order
- Room selection (free), choose the best available room if you have any choice
- Door and window gap sealing (very low cost), weatherstripping, door sweep, acoustic sealant
- Targeted acoustic foam (moderate cost), first-reflection points only, not full-room coverage
- Solid-core door upgrade (moderate-higher cost, optional), if budget allows and hollow door is a genuine weak point
- Full construction-level soundproofing (high cost, generally not needed for hobby/semi-pro home studios)
Related Guides
Frequently Asked Questions
Q1: What is the cheapest way to soundproof a home studio in Pakistan? Start with door and window gap sealing (weatherstripping, door sweep, acoustic sealant), these are the lowest-cost fixes and address the biggest sound leakage weak points before spending on any acoustic panels. Room selection (choosing an interior room away from exterior walls) is also free and provides a genuine head start.
Q2: Should I buy acoustic foam first when setting up a budget home studio? No, seal door and window gaps first, since these free or low-cost fixes address bigger weak points than foam can. Foam is genuinely useful afterward for improving internal sound quality (reducing echo), but buying it before sealing gaps means the room still leaks sound through those unsealed points regardless of how much foam you install.
Q3: Does a hollow-core door leak more sound than a solid-core door? Yes, significantly, hollow-core doors, common in many Pakistani homes, transmit considerably more sound than solid-core doors. If budget allows after addressing gap-sealing and basic acoustic treatment, replacing a hollow door with even a budget solid-core door meaningfully improves sound isolation.
Q4: Where should I place acoustic foam for the best result on a limited budget? Target first-reflection points specifically, behind your microphone or speakers, the wall directly opposite your recording position, and room corners where bass tends to accumulate, rather than spreading foam thin across every wall. Concentrated foam at actual reflection points delivers better results per rupee than the same total quantity spread evenly.
Q5: Can DIY materials like blankets or furniture actually help with acoustic treatment? Yes, to a modest degree, heavy blankets, moving furniture, and bookshelves with irregular surfaces can provide free supplementary absorption while you save toward proper acoustic foam panels. This isn't a substitute for real treatment long-term, but it's a genuinely useful stopgap for a budget-constrained setup.
Q6: Is full double-wall soundproofing construction worth it for a home studio? Generally not for hobby or semi-professional home studios, this level of construction hits steep diminishing returns relative to cost for most home use cases. Gap-sealing plus targeted acoustic treatment delivers most of the practical benefit most home studio builders actually need without commercial studio-level investment.
Q7: What's the biggest budget-allocation mistake people make setting up a home studio? Buying acoustic foam panels first because they feel like "real" studio equipment, while skipping the door and window gap-sealing work that's both cheaper and more impactful for sound leakage specifically. This mismatched priority order wastes budget on the less-effective fix while leaving the more effective (and cheaper) fix undone.
Have questions about this?
Chat with us on WhatsApp. We usually reply within minutes.