Thermocol sheet is genuinely one of the more DIY-friendly insulation options, light, easy to cut, and forgiving of minor imperfections. But there's an honest complication most sellers don't lead with: thermocol has no natural adhesive property, meaning proper installation depends entirely on getting the adhesive and joint-sealing steps right. Here's the real process, not the oversimplified version.
Buying the sheets first? See our Thermocol/EPS Sheet pricing guide for current rates by thickness.
What You'll Need Before Starting
- Thermocol/EPS sheets (2-inch thickness is the standard recommendation for roof application)
- A sharp blade or hot wire cutter for clean cuts
- Construction adhesive specifically rated for polystyrene (regular adhesives can dissolve the foam, this matters)
- Weatherproof tape or sealant for joints
- Basic safety equipment (gloves, eye protection)
Step-by-Step Installation Process
1. Prepare the Roof Surface
Ensure the roof surface is clean, level, and dry before starting. Any existing leaks or cracks should be repaired first, installing insulation over an existing leak just hides the problem while it continues doing damage underneath.
2. Measure and Cut the Sheets
Cut the thermocol sheets to size using a sharp blade or hot wire cutter, ensuring pieces fit your roof layout precisely. A hot wire cutter gives cleaner edges than a blade, which matters for how tightly the joints fit together in the next step.
3. Apply Adhesive
Apply a construction adhesive specifically compatible with polystyrene evenly across the sheet's back surface, this is the step most DIY installations get wrong, since thermocol has no natural adhesive property of its own, and using the wrong adhesive type can actually dissolve or damage the foam rather than bond it.
4. Lay and Press the Sheets
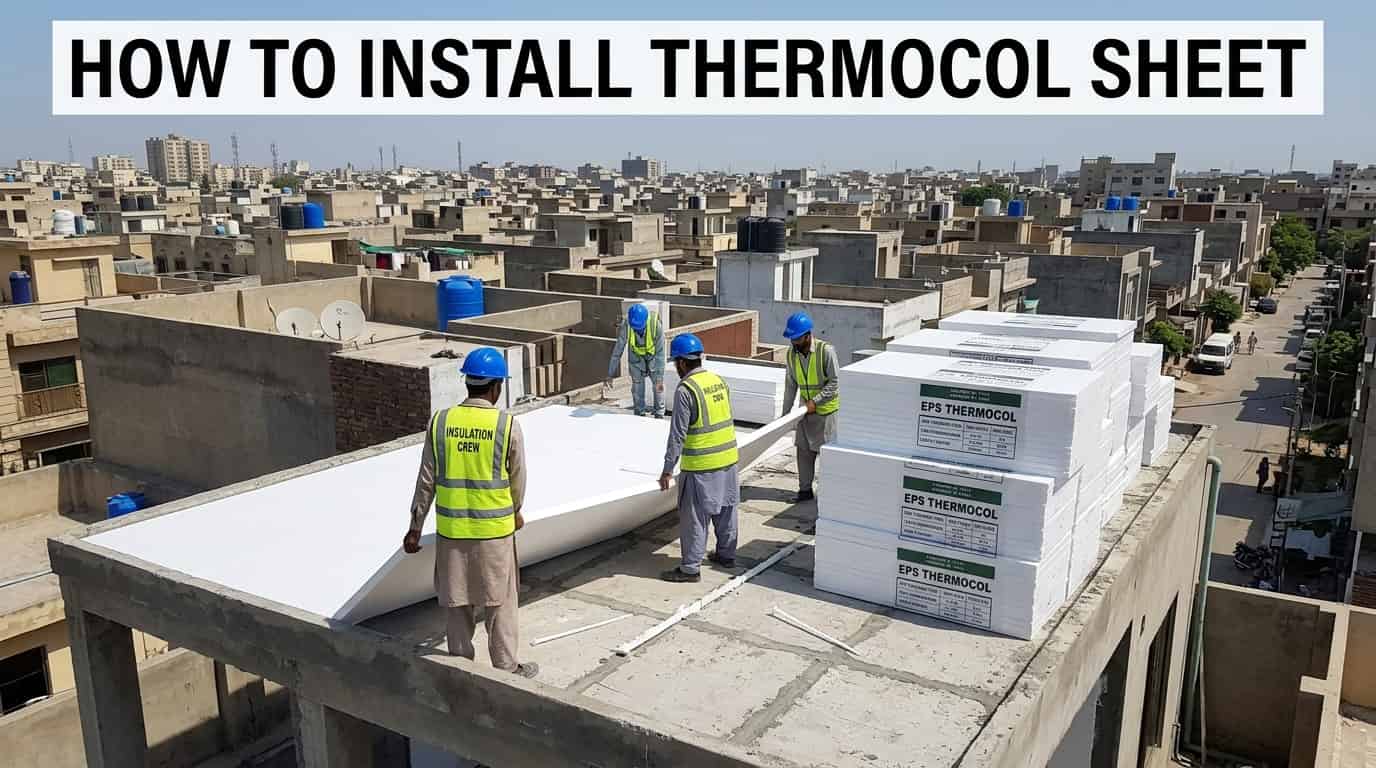
Place sheets across the roof surface, typically over the RCC slab, starting from one corner and working across systematically. Press each piece firmly and hold for a few seconds to ensure a proper bond forms before moving to the next piece.
5. Seal the Joints, The Step That Determines Long-Term Performance
This is genuinely the most important step for lasting results. Seal the joints between sheets with weatherproof tape or adhesive compound to avoid thermal bridging (heat sneaking through the gaps) and water seepage. Ensure sheets are tightly joined without air gaps, a gap here undermines the insulation value of the entire installation, even if the sheets themselves are perfectly placed.
6. Add Protection on Top
Depending on your specific application, a waterproofing membrane or concrete screed applied over the thermocol protects it from moisture and mechanical damage (foot traffic, falling debris) going forward. Skipping this step leaves the insulation more vulnerable to degradation over time, even if the initial installation was done correctly.
The Honest Difficulty Level, What Sellers Don't Always Mention
Applying thermocol sheet properly is more demanding than it first appears, precisely because of that "no natural adhesive" property, getting the adhesive type, application, and joint sealing right requires patience and attention to detail, not just laying sheets down. DIY installation can also generate a genuinely significant amount of cutting waste and mess, particularly for larger roof areas or first-time installers still learning the cutting technique.
When DIY makes sense: small areas, simple flat roof shapes, and installers willing to take the time to get adhesive and joint-sealing right.
Have questions about this?
Chat with us on WhatsApp. We usually reply within minutes.
When professional installation is worth it: larger roofs, irregular shapes with many cuts and joints, or situations where you want waterproofing membrane/screed added on top as part of a combined system, professional installers handle the full sequence more efficiently and with fewer costly mistakes.
Common Mistakes This Process Guide Helps You Avoid
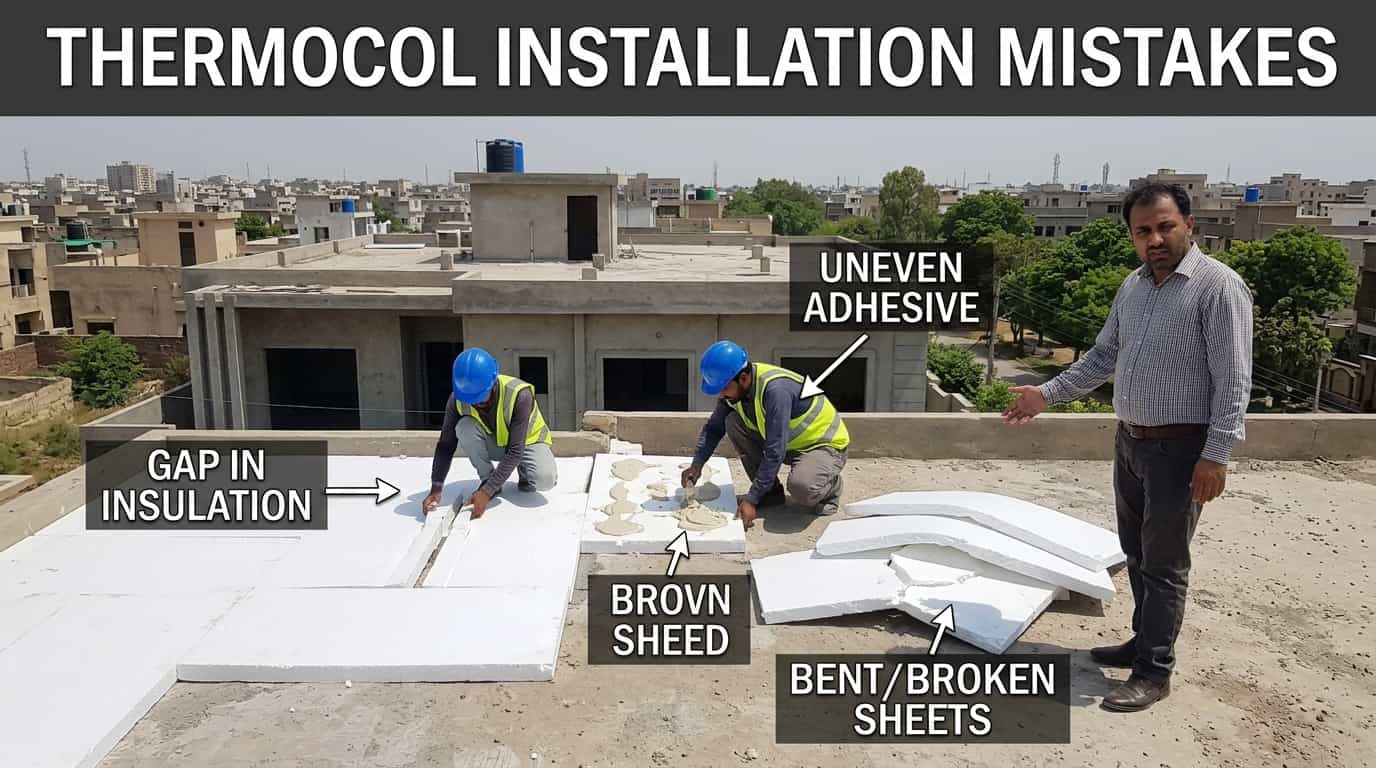
- Using a generic adhesive not rated for polystyrene, risking foam damage
- Leaving gaps at joints, which undermines insulation performance even with correctly placed sheets
- Skipping the pre-installation roof repair step, trapping existing leaks underneath the new insulation
- Not protecting the finished thermocol with a top layer, leaving it exposed to foot traffic and weather degradation sooner than necessary
Related Guides
Frequently Asked Questions
Q1: Can I install thermocol sheet on my roof myself? Yes, for smaller, simpler flat roof areas, thermocol is genuinely one of the more DIY-friendly insulation materials. However, since it has no natural adhesive property, getting the polystyrene-compatible adhesive and joint-sealing steps right requires real attention to detail. Larger or irregularly shaped roofs are generally better suited to professional installation.
Q2: What adhesive should I use for thermocol sheet installation? Use a construction adhesive specifically compatible with polystyrene foam, regular general-purpose adhesives can actually dissolve or damage the foam rather than bond it properly. This is the single most common mistake in DIY thermocol installation, so confirm polystyrene compatibility before purchasing your adhesive.
Q3: Why do the joints between thermocol sheets matter so much? Gaps at the joints allow thermal bridging (heat passing through the gap) and potential water seepage, which undermines the insulation value of the entire installation even if the sheets themselves are perfectly placed and cut. Sealing joints with weatherproof tape or adhesive compound is not an optional finishing touch, it's essential to the insulation actually working as intended.
Q4: Do I need to repair my roof before installing thermocol sheet? Yes, any existing leaks or cracks should be repaired before starting insulation installation. Installing thermocol over an existing leak hides the problem visually while the underlying damage continues, often making the eventual repair more expensive and disruptive than if it had been addressed first.
Q5: What should I put on top of thermocol sheet after installation? Depending on your application, a waterproofing membrane or concrete screed applied over the thermocol protects it from moisture and mechanical damage like foot traffic or falling debris. Skipping this protective top layer leaves the insulation more exposed to degradation over time.
Q6: What thickness of thermocol sheet should I use for a roof? 2-inch thickness is the standard recommendation for roof insulation in Pakistan, offering meaningfully better heat reduction than thinner 1-inch sheets for a moderate cost increase. See our Thermocol Sheet pricing guide for the complete thickness-to-price breakdown.
Q7: How messy is DIY thermocol sheet installation? Cutting thermocol sheets to size, especially for larger or irregularly shaped roofs, genuinely generates a significant amount of foam cutting waste and mess, more than most first-time DIY installers expect. Using a hot wire cutter rather than a blade produces cleaner cuts with less mess, and professional installers typically manage this more efficiently through experience.
Have questions about this?
Chat with us on WhatsApp. We usually reply within minutes.